How to Orienteer
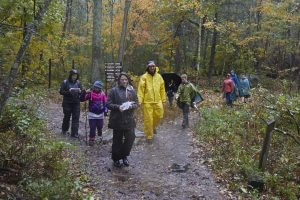
What to expect at an event
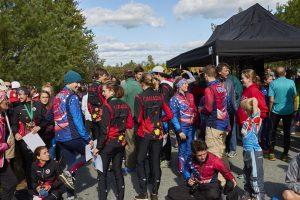
Find a club/event
Orienteering in the US is organized by more than 60 volunteer clubs across the country. You do not need to be a club member to participate, and newcomers are welcome, often with some free beginner instruction, if you let them know that you’re new to the sport.
Is there a club or upcoming event in your area or someplace you are visiting soon?
Equipment
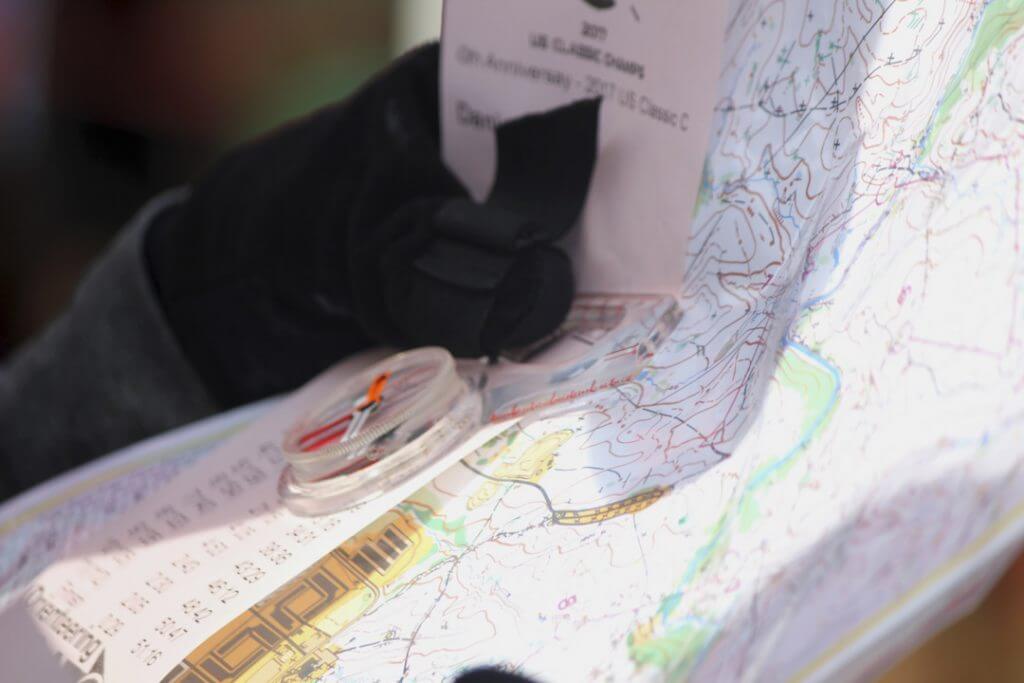
No special equipment is required to start orienteering. You can borrow a compass, electronic punch, and emergency whistle (if required) at the event. You’ll receive a map at the start.
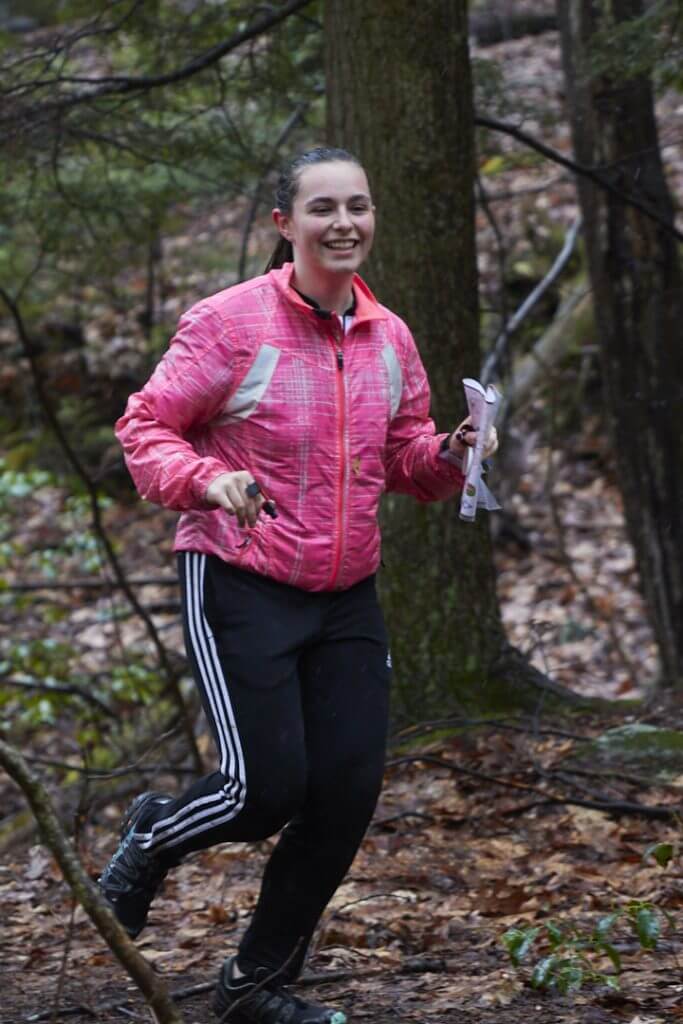
Typical equipment includes running/hiking shoes, comfortable clothing, compass, electronic punch, and emergency whistle. Long pants are typically recommended due to the vegetation.
Optional equipment may include a watch for timing, cell phone (only for emergencies), or a control description holder.
If you need to purchase equipment, there are vendors which specialize in orienteering gear.

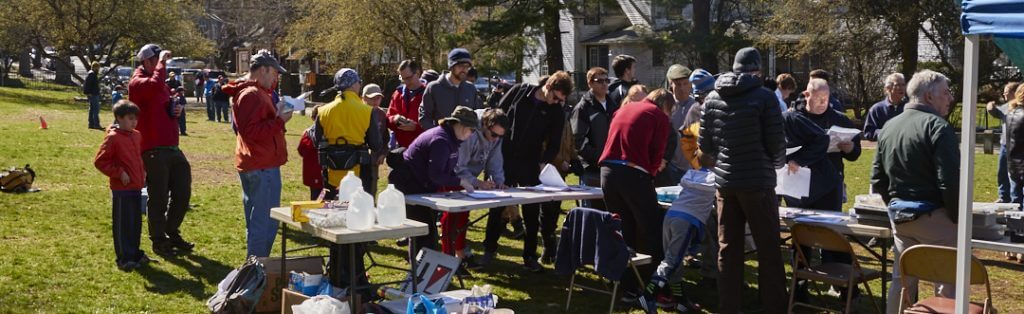
Registration/Check-in
Like many sporting events, most major orienteering events allow pre-registration online prior to the event. Registration includes picking a course at the appropriate challenge level—which someone can help you decide—and paying a nominal fee.
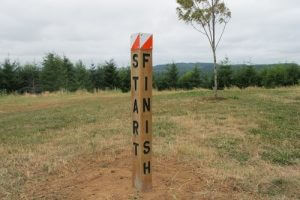
Ready, set, go!
Many clubs use a start sequence to space out competitors and control flow of maps. The sequence is generally:
- Check-in at the start
- Receive your control descriptions
- Receive your map, and
- Go! Each start is spaced 1-2 minutes apart.
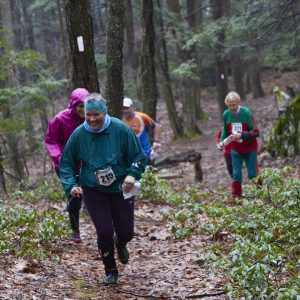
Once you have your map, you have started, and you are free to navigate.
Each control point is marked by an orange and white marker. The flag will have a code that corresponds to the number on your description sheet, and an electronic or needle punch. Compare the codes to ensure you are at the correct place and punch!
- With electronic punching, you will use a finger stick (RF-enabled punch) to check in at each control marker. You’ll get a timed printout of all control point visits at the end of the event.
- With a needle punch, you will punch in at each control marker using a punch card. At the end of the event, you will have a total elapsed time.
At the finish, cross the line or punch (electronic) to stop your time.
Even if you don’t finish your course, check in at the finish to ensure the organizers don’t search for you!
Basic Etiquette
- Check-in before leaving – Always report to the finish within the time allowed whether or not you have reached all the controls.
- Stay together – Groups, if permitted, must stay together and each person should punch his/her own card.
- Give right of way – Allow faster runners or other trail users (if on trails) to pass.
- Keep it clean – Don’t litter, pick up trash if you can, and leave the place better than you saw when you first arrived.
- Be courteous – Most events are put on by volunteers; please be courteous to them and the other participants.
- Navigate – Don’t assist a competitor unless for safety reasons (you might be competing against them!).
- Follow instructions – Controls generally must be visited in the specified order, except during a Score O.
How to Navigate
Written Description
- Orient the map – Using your compass and major terrain features around you, hold the map so that the north arrow on the map is pointing the same way as the north arrow on your compass and the terrain features you see match up.
- Choose your route: Choose the best route for you based on your physical and navigational abilities. Often, going straight may not be the best choice. A method to choose your route is CAR:
- Control: Look at the control you are going to. What are you looking for? What direction do you want to approach it from?
- Attackpoint: What is the closest large or unique feature that indicates you are approaching your control?
- Route: Which way will get you to the attackpoint and control the fastest? Are there other routes to consider?
- Simplify: There is a lot of information on the map. Choose which features you are going to use to navigate.
- Navigate: Go find your control!
- Relocate: When you get disoriented or you cannot find your control, a systematic approach to figuring out where you are can reduce the time it takes to correct yourself.
- Stop: identify your last known location on the map
- Consider the features you have seen, the features you currently see, and the time/length since your last location
- Relocate: Try to identify where you actually are on the map (use at least three features to improve confidence). If you are unsure, identify a large, distinguishable feature you know you can easily find and go to that. (e.g. trails, lakes, etc)
- Repeat!
Video Description
Want to learn more orienteering skills? Check out other videos that go into detail about the different skills. Additionally, check out our training page for a lot more ideas!